version of this page.


Press ctrl + 
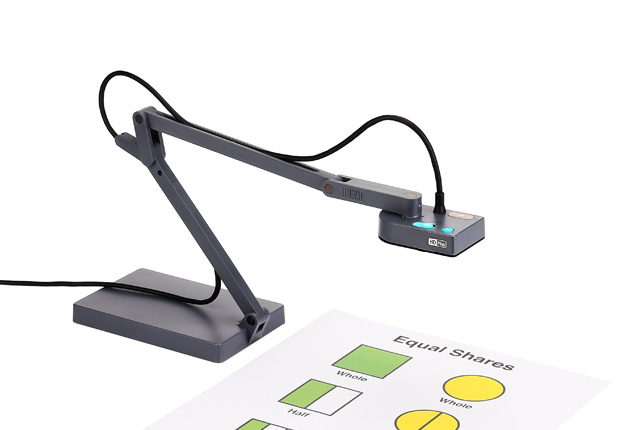
Learn more about the document cameras used in LPS.
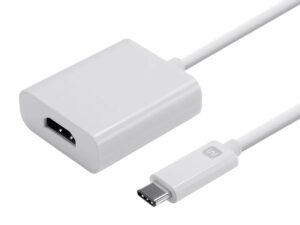
When you plug an IPEVO document camera in to a Chromebook, it can be used in one of two ways without any software necessary.
Using the IPEVO Visualizer Web App
IPEVO offers a full featured document camera app that can be used by visiting the following URL. We recommend that you bookmark this address for easy access in the future:
Learn how to zoom, rotate, annotate, and use many other features here.
Using the Chrome Camera App
The native Camera app in ChromeOS will see the laptop camera first, but will see an IPEVO document camera if you select it from the menu.
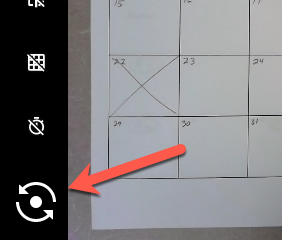
Click the “Switch camera” button to switch between the built-in webcam and the document camera.
Learn more…
The camera software does not have any of the presentation features you may desire.
Tips
- If you do not see your Chromebook screen on the projector or monitor, it may be that your Chromebook is not “mirroring”. To mirror your screen press
Ctrl+ [
[Full screen]. - Plug the Chromebook into power when using the document camera, or your battery will drain down faster than you would like.
- Use the Visualizer software at FULL SCREEN in order to have the best display for students.
- Use the Zoom feature to move in and out from the materials you are displaying.