macOS Laptops


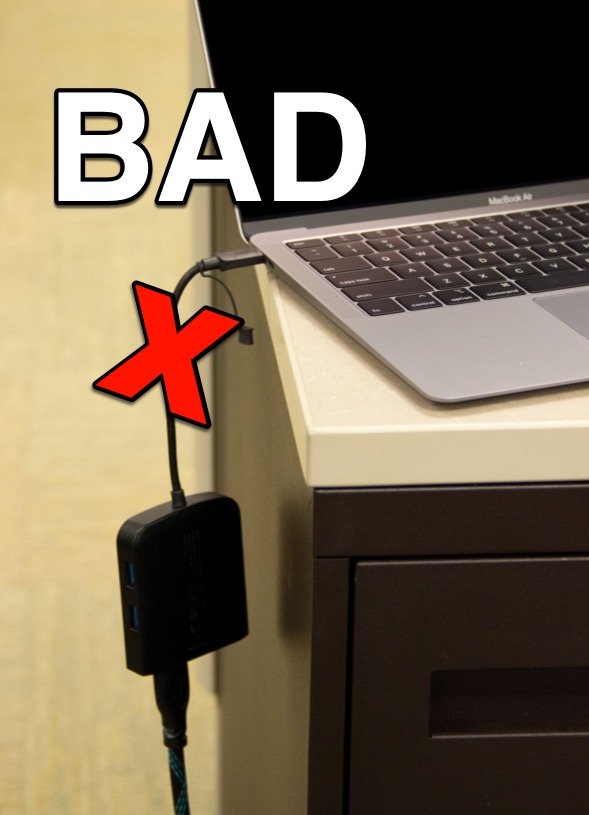 Do not allow adapters (or any other connector) to hang off of the side of a desk or table, pulling down. We have seen quite a few laptop motherboards that were physically damaged by strain on the USB-C port. This is caused by the weight pulling down while connected to the laptop. Laptops are being damaged beyond repair due to this scenario.
Another consideration – do not walk around with the adapter connected. The sway/swing of the unsupported adapter is damaging to both the port and the adapter.

Don’t cover the keyboard
 Many laptop shells come with a “FREE!” silicone keyboard cover. DO NOT USE THIS COVER! Modern Apple laptops do not have a fan, and rely upon free air movement around the keys to cool off. A keyboard cover will cook your laptop’s insides, with many possible unwanted side effects!
No stickers are allowed on LPS devices

After you spend 3 years with this device, it will have a second use in our district. If you want to adorn your laptop with stickers, purchase an inexpensive shell and apply the stickers to the shell.


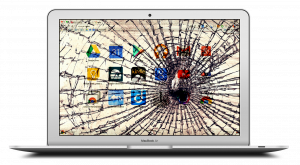
Damage, Loss, or Theft (DLT)
 All losses must be reported to risk management in a timely manner.
If you believe your laptop has been stolen, please contact the police immediately to file a report, and note the case number you are provided.
If your laptop would be away for repair for more than a full instructional day, you will be assigned a “loaner” laptop which will be brought to you by a regional technician.Begin the process by putting in a help ticket explaining the damage, loss, or theft of your device.
 Caring for your laptop is easier than it may seem.
There are things you can do to manage the health of your laptop. Turning it in for repair is super annoying for you, and we want to help you avoid that situation.
Here are some suggestions that will help you maintain a healthy device that works well for you, and the people who use this device AFTER you do!
You won’t like a dirty laptop.
 When your laptop gets dirty, there are consequences. Trackpads stop working. Keys stick and make it hard to type. Sticky screens etch with dust scratches making things permanently blurry. Follow the guidance below to keep things clean and working as needed.
Normal Cleaning
 To clean the screen, outside, or keyboard on your laptop:
- Shut down the computer and unplug the power adapter.
- Dampen a soft, lint-free cloth (microfiber is best) with water only.
- Use the dampened cloth to clean the laptop’s screen, shell, and keyboard.
BE CAREFUL:
 DO NOT spray liquid directly on the computer.
- DO NOT allow moisture in any openings.
- DO NOT use aerosol sprays, solvents, abrasives.
- DO NOT use cleaners containing hydrogen peroxide.
Is it EXTRA dirty?
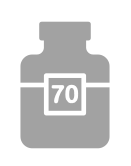 To clean hard-to-remove smudges or fingerprints on the display or exterior of your Mac, you can use a cloth moistened with a 70-percent isopropyl alcohol (IPA) solution to gently wipe the display or enclosure of your Mac laptop. Do not allow moisture in any openings.
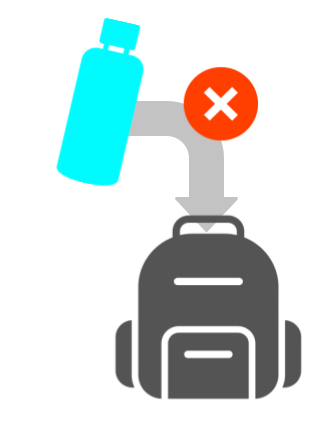
No water in your bag
When you put water in the same bag as your laptop, you are courting disaster. Water bottle lids leak, and they tend to “sweat” with condensation. These are death sentences for a laptop in the same bag. Please leave water bottle OUTSIDE of your laptop bag.
Printers
![]() If you find yourself needing to add or remove a printer instructions for doing that can be found here, along with all copying, scanning and faxing information you may need.
If you find yourself needing to add or remove a printer instructions for doing that can be found here, along with all copying, scanning and faxing information you may need.
Zoom Setup
Instructions for setting up the Zoom desktop client for macOS can be found here. Be sure to follow the steps closely and sign in with the SSO option, or you may end up in a non-LPS account.
Zoom notifications live in two places:
1) Apple > System Preferences > Notifications > Zoom.us
2) Zoom Settings > Chat/Team Chat > Check “Show unread message count for channels”
 Moving Your Apple Music Library
If you were syncing your Music folder on your old laptop, you can move those files to your new laptop and continue to use Apple Music with local files.
Helpful System Settings
 General
- Trackpad
- Scroll & Zoom: Scroll direction
- Secondary click
- Tap to Click
- Desktop & Screen Saver
- Display Settings
- Battery/Energy Saver
- Keyboard Settings
- Finder Preferences
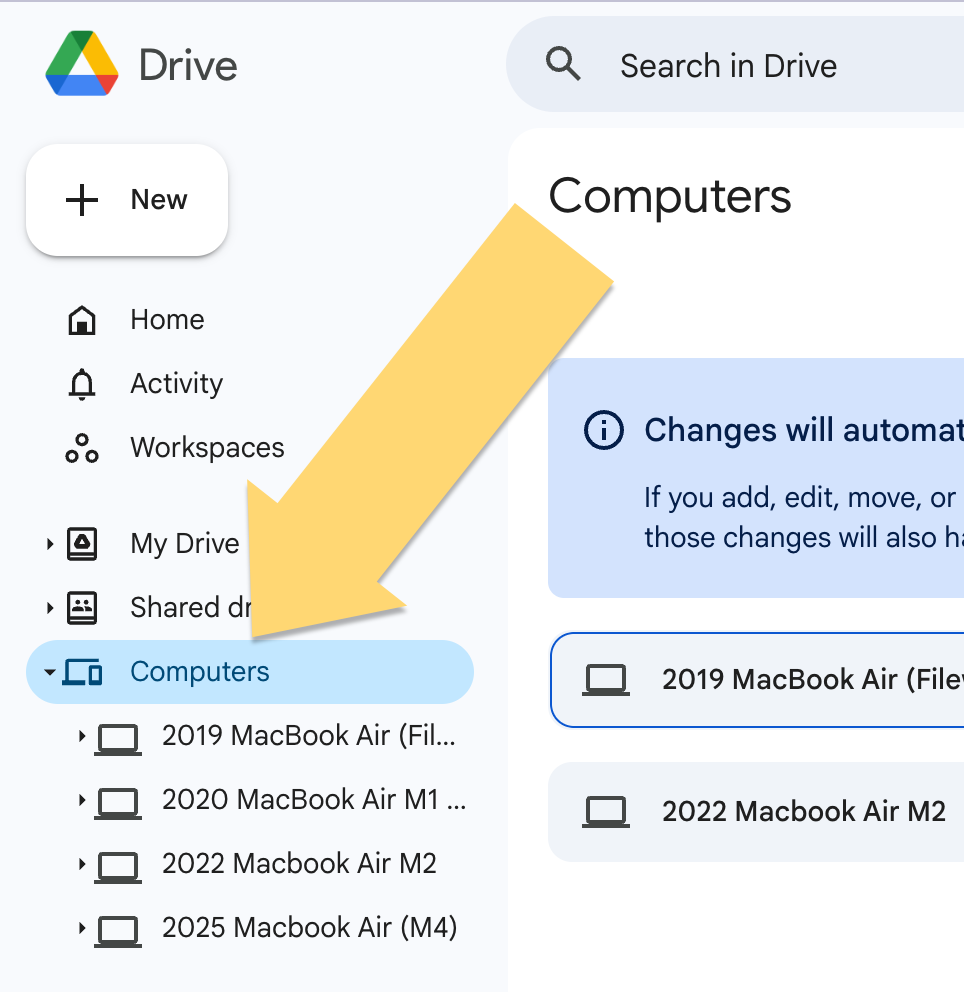
![]() Computing Services has installed a tool called Google Drive for Desktop on your LPS computer. This utility syncs your LPS computer’s files to your LPS Google Drive storage.
Computing Services has installed a tool called Google Drive for Desktop on your LPS computer. This utility syncs your LPS computer’s files to your LPS Google Drive storage.
This strategy allows you to keep some files on your computer but have them safely and securely backed up, preparing you in case of “technology disaster” or moving to a new laptop.
Setting up Drive for Desktop
Please be sure that Google Drive for Desktop is set up and working on your teacher laptop. This includes identifying the places on your laptop (like the Desktop or Documents folders) that should be mirrored to your Google Drive storage. Follow the instructions below to log in and begin keeping your computer and your Google Drive in sync.


 Depending upon your role in LPS, you may have a reason to have software applications on your laptop that other LPS employees may not need, or be licensed to install. In an effort to get the right software to the right staff members, LPS offers a way to install your own software, on your LPS computer, using a tool called Mosyle Manager.
The software available through Mosyle Manager is curated by Lincoln Public Schools. It will only show the software that LPS makes available to optionally install on your LPS laptop.

Mac App Store
The Mac App Store is Apple’s way to purchase, download, and install software made specifically for your Macintosh computer. You can use it if you choose to, but know that use of the Mac App Store requires an Apple ID, which is not procured, administered, known, or supported by LPS.
iCloud (Apple)
 Do not store LPS work product in iCloud Drive or iCloud Photos. iCloud is not an LPS-supported nor endorsed solution for file storage. iCloud is Apple’s cloud syncing and storage solution in which they afford you a small amount of space for free with any Apple product; to use more advanced features requires a subscription.
Google Chrome
![]() There are many good web browsers, and we have installed Chrome, Firefox, and Safari (Mac) or Edge (Windows) on your machine so you can use whichever tool meets your needs in a given situation. However, we are encouraging teachers to use Google Chrome as their default browser for a number of reasons.
There are many good web browsers, and we have installed Chrome, Firefox, and Safari (Mac) or Edge (Windows) on your machine so you can use whichever tool meets your needs in a given situation. However, we are encouraging teachers to use Google Chrome as their default browser for a number of reasons.
If you are new to Chrome, you may not realize there can be an extra click when printing. This page will show you the “Print using system dialog…”
If you are struggling with an issue related to Chrome (password saving, broken login, etc.) or are interested in ways to make your use of Chrome more elegant, this LPS page may offer the ideas or solutions you are seeking.
For general information and help using Chrome, visit the Chrome Help Center, or contact the LPS HelpDesk.
Sync Your Data
Google Chrome users should make sure their LPS profile is syncing. Follow these simple steps to sign in with your LPS Google Account:
- At the top right of the window, click the
 button (or the image you’d previously selected for your account).
 - Click Sign in to Chrome (or Turn on Sync if you’d been previously synced).
- Enter your LPS Google account address (username@class.lps.org) and click Next.
- Sign into the LPS Portal on the next screen.
- Verify it is your @class.lps.org account and click Continue.
- Select Link Data.
- Select Yes, I’m in.
Bookmarks, history, passwords, and other settings saved with your account will automatically sync.
Software Updates
 LPS computers receive software updates, security patches, anti-virus definitions, and inventory updates on a regular basis. You are expected to run all available updates as soon as possible (without impacting instructional time.)
Microsoft 365 (Office)
 Not having a copy of MS Office installed on the laptop will not prevent teachers from being able to view existing MS Office files. There are a number of strategies for interacting with MS Office files on your teacher laptop without having MS Office installed. Learn more about them here.
LPS recognizes there may be situations where teachers have a defined business or curricular need for having MS Office installed on their teacher device. If you feel that this applies to you, LPS makes MS Office available for download by staff members. Instructions can be found here.
Once installed you will need to sign into the Office apps with your LPS email address. LPS will pay a significant licensing fee for your use of this application.
 Adobe Creative Cloud
There are some roles in LPS that need access to Adobe Creative Cloud apps. If you are one of these people, use the Creative Cloud Installer found in Mosyle to download the individual apps you need. Then use the instructions below to sign into them.
Updated March 4, 2026

You must be logged in to post a comment.