The LPS Portal
Students and staff begin every day at a website we call “The Portal.”
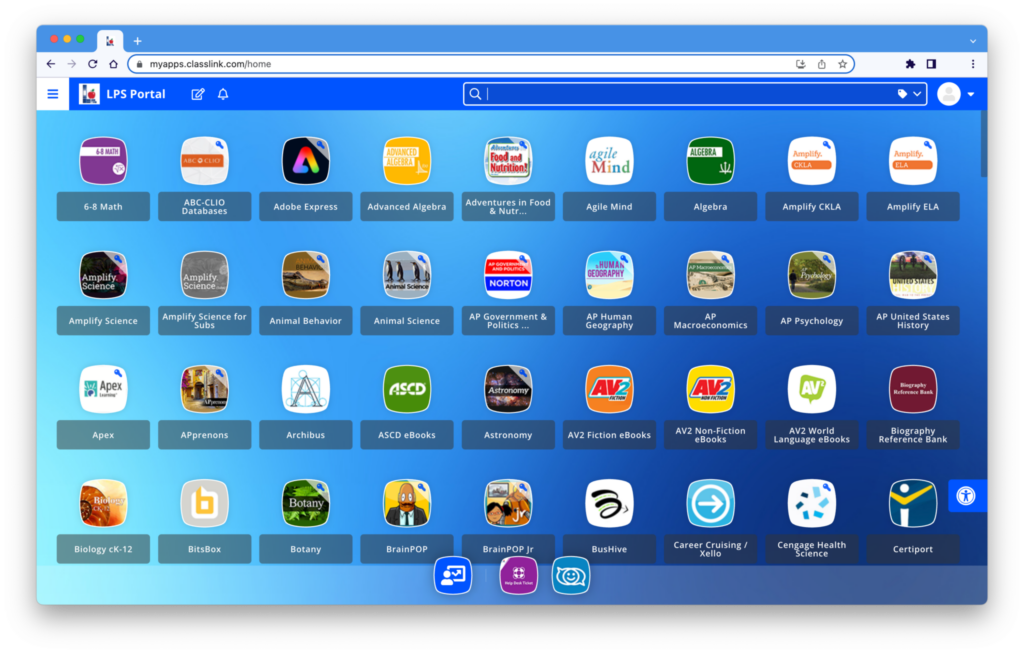
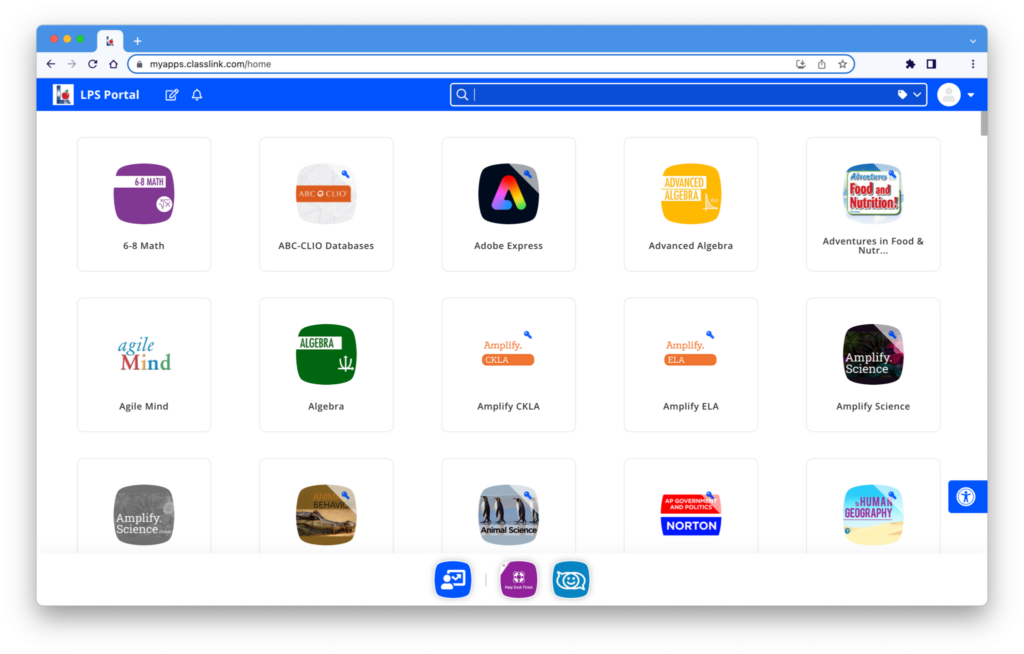
The Portal includes buttons for most of the web services (apps) used in LPS. Clicking a button takes users directly to a web service with no additional login (when possible.) The Portal verifies your LPS identity to the web tool.
Some things to know:
- Students can click on the HOME button in Chrome to be taken to The Portal.
- LPS.org keyword PORTAL will take staff to The Portal.
- You must log into the Portal at least once a day.
- The selection of apps you see in the Portal are specific to your role, your building, and/or your grade level.
- If you are not using your own LPS device, make sure to log out of the Portal and quit the browser when you are finished working. To do this, click on your Profile button (usually in the top-right) and select “SIGN OUT.”
Questions or issues with The Portal should be filed as a HelpDesk ticket under:
- Software/Online Systems >> LPS Portal
MFA Options for Staff
Once a month, Multi-Factor Authentication (MFA) will be required for staff to be able to sign into the Portal. You need to be able to receive a unique code, which is then entered when you sign in. This additional layer of security applies to all STAFF no matter where they are, but does not apply to students.
How do you get the code?
The default method for MFA is to be sent a text message (SMS) on your cell phone. This code is then entered in the login screen. You can learn more about MFA in LPS and these text messages.
Alternative #1: Google Authenticator
If you are unable to receive an SMS text in your workspace, the Google Authenticator App is a good alternative because it does not need a cell signal nor wifi once it is set up. To get started, follow these set-up instructions. Contact the Help Desk for assistance (x1735).
Other Alternatives
If you do not have a smartphone, there are a couple of additional alternatives that will allow you to receive the code you need to login to the LPS Portal successfully. Contact the LPS Help Desk for more information and assistance (402-436-1735).
Password Reset Process
Does someone else know your password?
If you have accidentally given your username and password to any NON-LPS site, your password must be changed as soon as possible. Use the steps below.
Do you know your password?
If you know your current LPS password, follow these steps to change it:
- Log into the LPS Portal
- Open your Settings area. This is found in the upper right corner of the Portal, but the exact location varies depending upon which theme you have chosen.
- In the Recovery tab of the Settings, click Change Password.
If you do not know your password, contact The LPS Help Desk at 402-436-1735 for assistance.
Customize your Portal Experience
Search to Launch
The Portal has a search tool that offers a fast and easy way to launch apps without touching your mouse or trackpad!
- The search bar (at the very top of the Portal screen) should be selected automatically when you open the Portal, but if it is not, click on it.
- Start typing the name of any app. A list of potential matches will appear in a drop-down list.
- Use your up/down keys on the keyboard to select apps in the list.
- Press the return key on your keyboard when your desired app is selected.
Set Favorites
By default, users see all of the items available to them in the Portal. However, you can select up to ten “favorites” that will always appear in a “dock” at the bottom of the Portal window.
- Hover the mouse over the application icon of the item to favorite.
- Two-finger click (alt+click on a Chromebook) on the application.
- Select Add to Favorites.
- The application will now appear along the bottom of the Portal window for easy access.
To remove a Favorite, choose “Remove from Favorites” in step 3 above.
Use Folders
You can create folders to group apps for easy access. There are a few ways to do this, here is one.
- Click the paper and pencil icon at the top of your Portal screen to access Edit Mode.
- In the drop-down menu that appears, click the “Add Folder” button.
- Name the folder as you wish, and choose a color.
- Click the “Create” button. The folder should appear at the bottom of your Portal screen.
To add apps to your folder you can:
- Two-finger click on an app and choose the “Add to Folder” option.
- Drag apps onto the folder until it accepts them.
To delete a folder you can two-finger click (alt+click on a Chromebook) on the folder and choose “Delete folder.” The apps contained it the folder will not be deleted. They will appear at the bottom of your Portal list.
Use Tags
Like folders, tags are another way to filter specific apps out of the larger list for ease of access.
To apply tags to apps:
- Two-finger click (alt-click on a Chromebook) on any app.
- From the menu that appears, choose “App Tags.”
- If the tag already exists, select it to apply it to the app. If the tag does not already exist, you can choose “+ ADD TAG” to create it and apply it at the same time.
Once you have applied some tags, you can use the feature.
- Click the tag icon at the far right end of the search box.
- Choose your desired tag from the drop-down menu.
Every app that has that Tag will be displayed. The rest are hidden, making it easy to find exactly the tools you need.
To delete a tag
- Click the tag menu in the search box to see a list of all tags.
- Hover over the tag you wish to delete and click the “edit” icon that appears.
- Click the “Delete” button in the tag editing window that appears.
Change Themes
If you don’t like the way the Portal looks, you have some different options to choose from. There are a few ways to change the theme, here is one.
- Click the paper and pencil icon at the top of your Portal screen to access Edit Mode.
- In the drop-down menu that appears, click the “Theme” button, which looks like a paint brush.
- Select from the available themes, and allow. the screen to refresh.
Some themes allow for additional modification, such as:
- Custom accent colors
- Custom font size and format options
- Custom app button size
