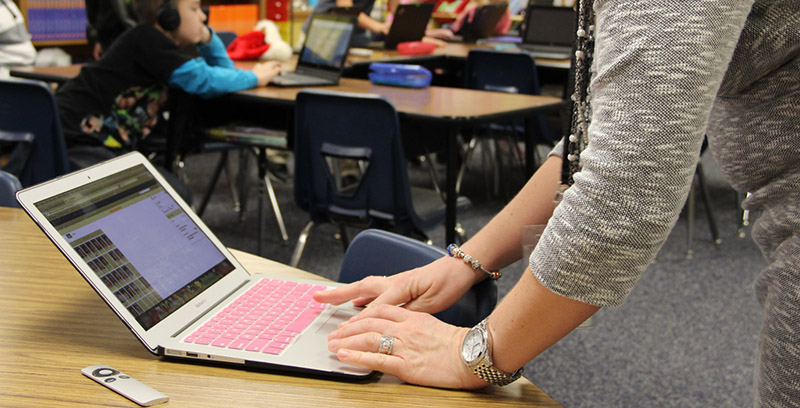


Using DVD Players through USB-C Adapters
Since moving to the 2019 MacBook Air as LPS teacher laptop, a handful of users have reported that DVDs no longer play correctly or reliably when their DVD player is going through the CableMatters USB-C Multiport adapter provided with all teacher laptops. This is not correct. The reported failures have all been correctible. Following are best practices that should lead to success:
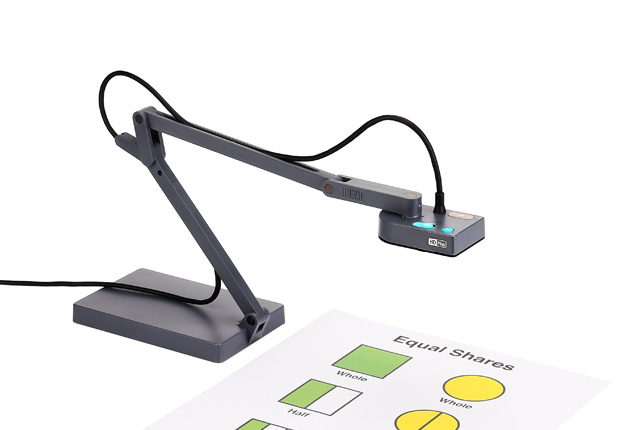
Which DVD Player are you using?
The Samsung and LG portable DVD players provided to all school libraries in 2013 work correctly when going through the USB-C Multiport adapters. Some older or non-portable DVD players require more power and may not work correctly, but the ones provided by LPS work correctly.
Be patient and go in order.
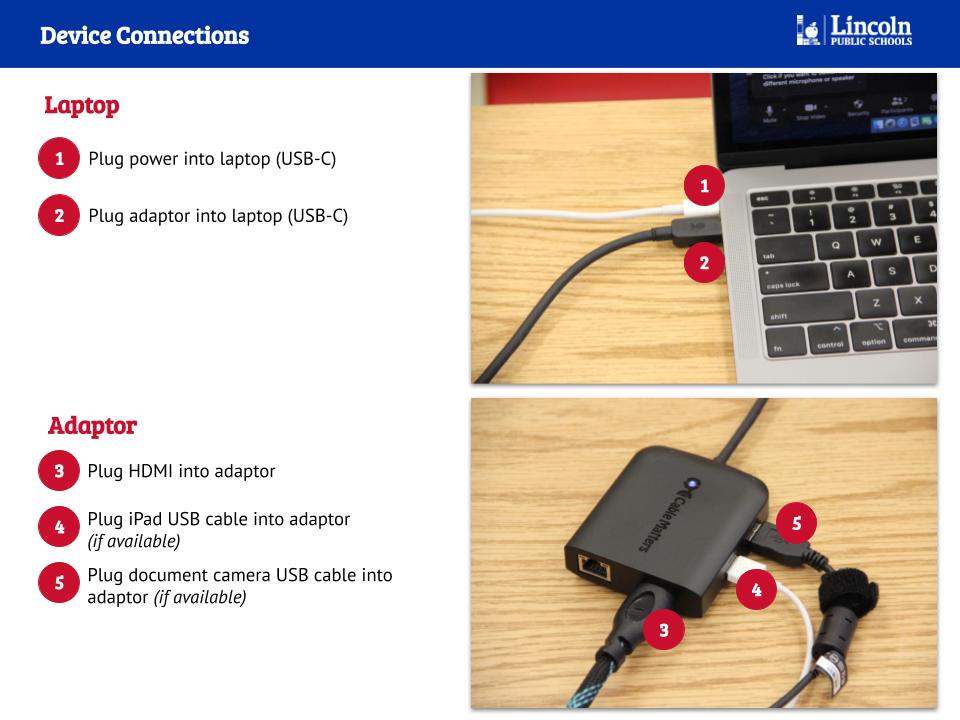
Your computer needs to recognize the items plugged into it. You’ll have your best luck if you (in this order):
- Plug in the USB-C Multiport adapter. Wait a few moments for the computer to recognize it.
- Plug the DVD player into the adapter. Wait a few moments for the computer to recognize it.
- Put the DVD into the DVD player. Wait a few moments for the computer to recognize it.
Use a better player.
The default tool that a Macintosh will use to play DVDs is the “DVD Player” utility found on every computer. It is LPS’ recommendation that you instead use the VLC app.
(If you have not previously installed VLC from the Filewave Kiosk, find more information on how to do so here.)
 Connect your DVD player (as described above.)
- Open VLC, which can be found in your “Applications” folder. The icon looks like a traffic cone.
- Locate your DVD by clicking the “Open Media” button in VLC.
- Choose the “Disc” tab from the top of the media screen. Choose your DVD in the drop down menu.
- Click ‘Open’. Your DVD should start playing.
Bad cord?
The cord that goes with a DVD player often gets wrapped around the DVD player when it is moved from place to place. This has the potential to damage the cord internally. One common result of this damage is a DVD that will start playing, then drop frames from the video, or drop the connection to the DVD player all together. If you are experiencing these symptoms, enter a help desk ticket and allow a technician to test the setup with a different cord to see if this resolves the problems.

Best Use of the Laptop Screen
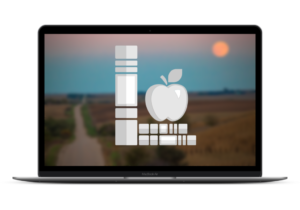
Pay close attention to WHAT is being projected.
The Ten No Nos of Teaching with a Projector – Lisa Nielsen at The Innovative Educator
What’s on your Desktop?
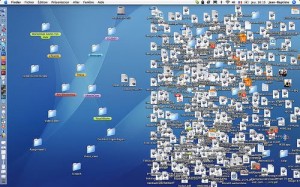 A laptop was provided to you by the BOE to aid in your instruction. Offstage use of the laptop for personal productivity (Domains 1&4) is a critical part of your job. Using the laptop in the ACT OF INSTRUCTION (Domains 2&3) is equally important. Be aware that all of the items on your desktop become visible to your class when you project and can be a visual distraction. Consider saving items into a FOLDER. (Yes, the folder can be on your desktop.)
Screen Resolutions
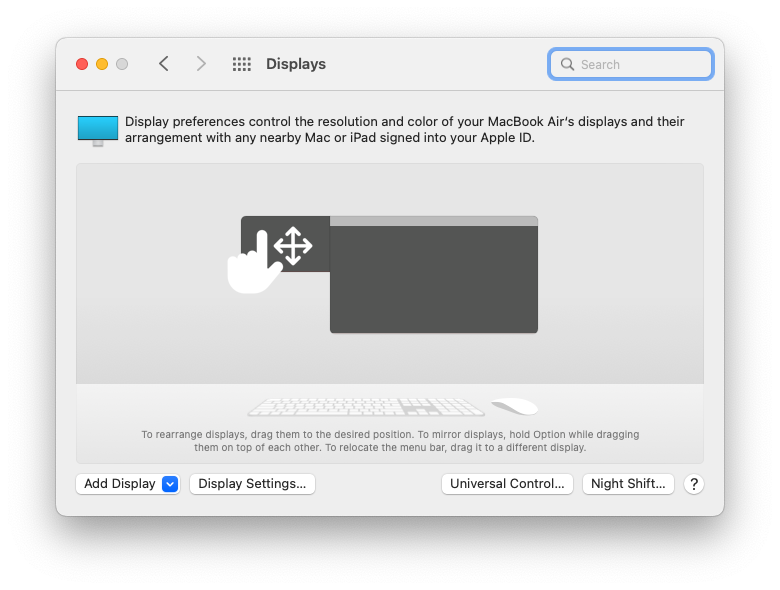
TIPS: Your laptop screen is never going to be any larger or smaller than the day it was manufactured. It will always be 13 inches, on the diagonal. However, your screen can be DISPLAYED at different pixel densities. This is called your “screen (display) resolution.”
- Apple Menu / System Preferences / Displays
The bigger the numbers are, the more pixels they squeeze into your screen. The more pixels, the sharper and crisper the things on your screen will be. Most laptops have an “ideal” setting. 1280×1024 is a pretty standard size for laptops. The more pixels, the SMALLER items on your screen will appear. If you’ve chosen a small number (640×480 for example) you will not be able to see very much.
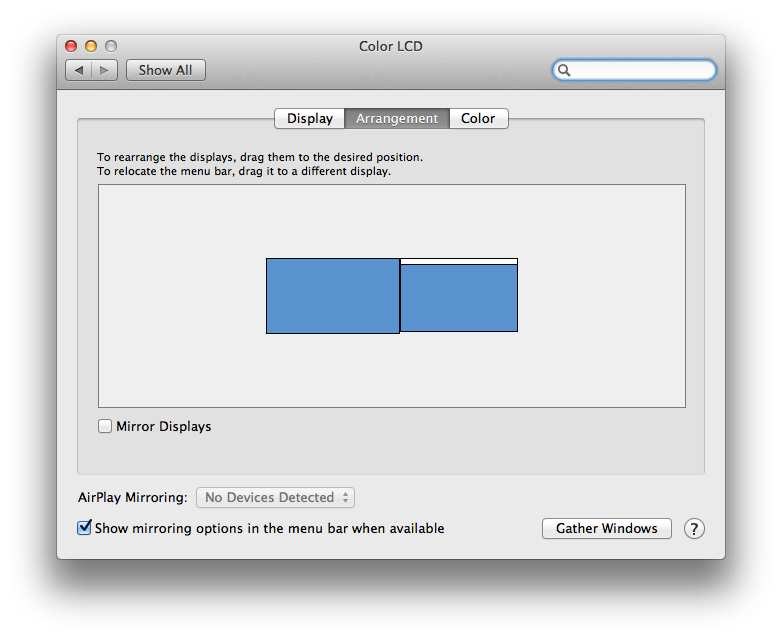
Mirroring vs. Extended Desktop
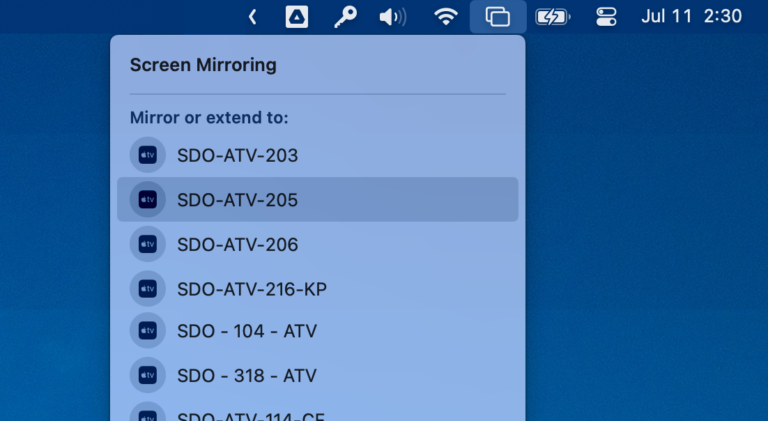
When you are connected to a projector, you have a choice between MIRRORING or EXTENDING your desktop.
- Apple Menu / System Preferences / Displays / Appearance
NOTE: When you are not connected to a projector, this option does not exist, so you may not see it on your computer right now.
EXTENDING (Mirroring Off): Some people prefer having TWO different screens – one on their laptop and another that is projected. This makes it possible to have the NEXT thing you want to display sitting on their desktop, so you can simply drag it over to the projected screen at the right moment.
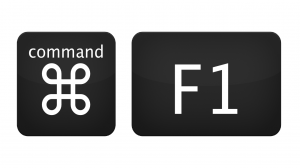
MIRRORING: What you see on your laptop screen and the projector screen is identical. To toggle Mirroring On/Off, use the following key combination: Command + F1
Maximizing Windows
You want the content on the screen to be as easy for students to see as possible, and you want to eliminate as many distracting elements as possible. There are two ways to fix this issue:
- Drag the corner. All windows have a “grippy” area in the bottom right corner. Some even have grippy edges on all sides. Use them to make your window larger.
- Maximize. In the top left corner of windows on a Macintosh, and top right corner of windows on MS Windows, you have minimize/maximize buttons. USE THEM. You are one click away from a larger window.
The Dock
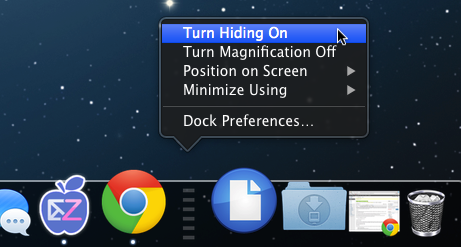 The Macintosh uses a “Dock” to show you the apps you want shortcuts to as well as those that are open at the moment. By default, the dock always shows with large icons, which can take about 1/5th of the vertical real estate on the screen. You can set your dock to “Automatically hide and show the dock” in the dock preferences
- Apple Menu / System Preferences / Dock
When you want it, bring the mouse to the edge of the screen where you expect it to be. It will pop up like a prairie dog. You can also change the size of your dock icons, or the position of the dock. Choose an arrangement that reduces the amount of space it uses.
Browser Tabs vs. Windows
When you are using a browser, it may spawn additional browser windows. Tabs came along a few years ago as a way to organize these windows by grouping them together. However, sometimes the browser is forced to open a new window. Wonders content, for instance, frequently opens new windows. Teacher laptops default to have the new windows open in the background and not be selected. This has proven to be a somewhat significant technical hurdle for teachers new to the curriculum. Keep in mind that when a link is clicked, it may be open in a window that is hidden.
Browser Pop-Ups
Generally speaking, pop-up windows are blocked by default in most browsers. However, sometimes they are important (McGraw-Hill Wonders, Synergy, etc.). If you are trying to open content from a page and you don’t see it anywhere, a blocked pop-up may be to blame. Look for a narrow banner along the top of the web browser window that says a pop-up was blocked. There will be a button to allow it.
Full Screen Browser
Modern browsers all have a “Full Screen Mode” or “Presentation Mode” that you may want to utilize. It can be a simple way to get the best use of your screen when projecting to a room full of people. Look for it under a View menu in the web browser of your choice.
App Switching
 You will often find yourself with a few different applications open at the same time. The Dock is not the only way to change from one application to another. You can very quickly switch from app to app with a keystroke.
- MAC: [Command]+[Tab]
- WIN: [Alt]+[Tab]
Launching Apps
![]() You can quickly and easily open applications (and files) without digging through your Applications folder. Just search for the app and hit return. You can quickly start the search with the following keystrokes:
You can quickly and easily open applications (and files) without digging through your Applications folder. Just search for the app and hit return. You can quickly start the search with the following keystrokes:
- MAC: [Command]+[Space]
- WIN: [Command]
Screen Zoom
When projecting your screen you want to zoom in as close as possible to the content. This does a few things for your students:
- Helps with visual processing
- Eliminates peripheral distractions on the screen
- Keys in on the area of the screen where action is taking place, if they are trying to replicate your actions on a laptop
Macintosh computers come with the ability to ZOOM built into the system. Activate it in one of these ways:
- Keystroke: [CONTROL] + [Scroll Up/Down]
- Laptop Trackpad: [CONTROL] + [Two fingers slide up-down on trackpad]
- Mouse with scroll button: [CONTROL] + [Scroll button up/down]
Screen Time-out
To minimize or even avoid the micro-distraction of a computer going to sleep or a screen saver activating during a lesson, consider the following advice:
- Plug into power. You computer goes to sleep faster on battery.
- Change screen timeout settings (battery use & power)
- Apple Menu / System Preferences / Energy Saver
- There are different settings for BATTERY vs. POWER ADAPTER
- Change when screensaver activates
- Apple Menu / System Preferences / Desktop & Screen Saver
NOTE: Wonders logs users out at 60 minutes regardless of the screen time-out on your computer.

You must be logged in to post a comment.